HiSport Car Body Moldings Bumper Quick Release Bumper Fasteners for Car Bumpers Trunk Fender Hatch Lids Kit (Black-8Pcs)

HiSport

HiSport Car Body Moldings Bumper Quick Release Bumper Fasteners for Car Bumpers Trunk Fender Hatch Lids Kit (Black-8Pcs)

Prix de vente$18.36

Taxe incluse Frais d'envoi calculés à la caisse

Quantité:
Prévention de la fraude : votre paiement est sûr et sécurisé.
  • Delivery

    Standard shipping: (7-12 Days)
    Express shipping (3-5 Days)

  • Free Return & Exchange

  • 60 DAY

    Our 60-Day Fit Guarantee, Free Exchange & No-Hassle Returns

  • Shipping from US facilities

  • Your purchase makes a difference.


Product Description

1
2

Specifications

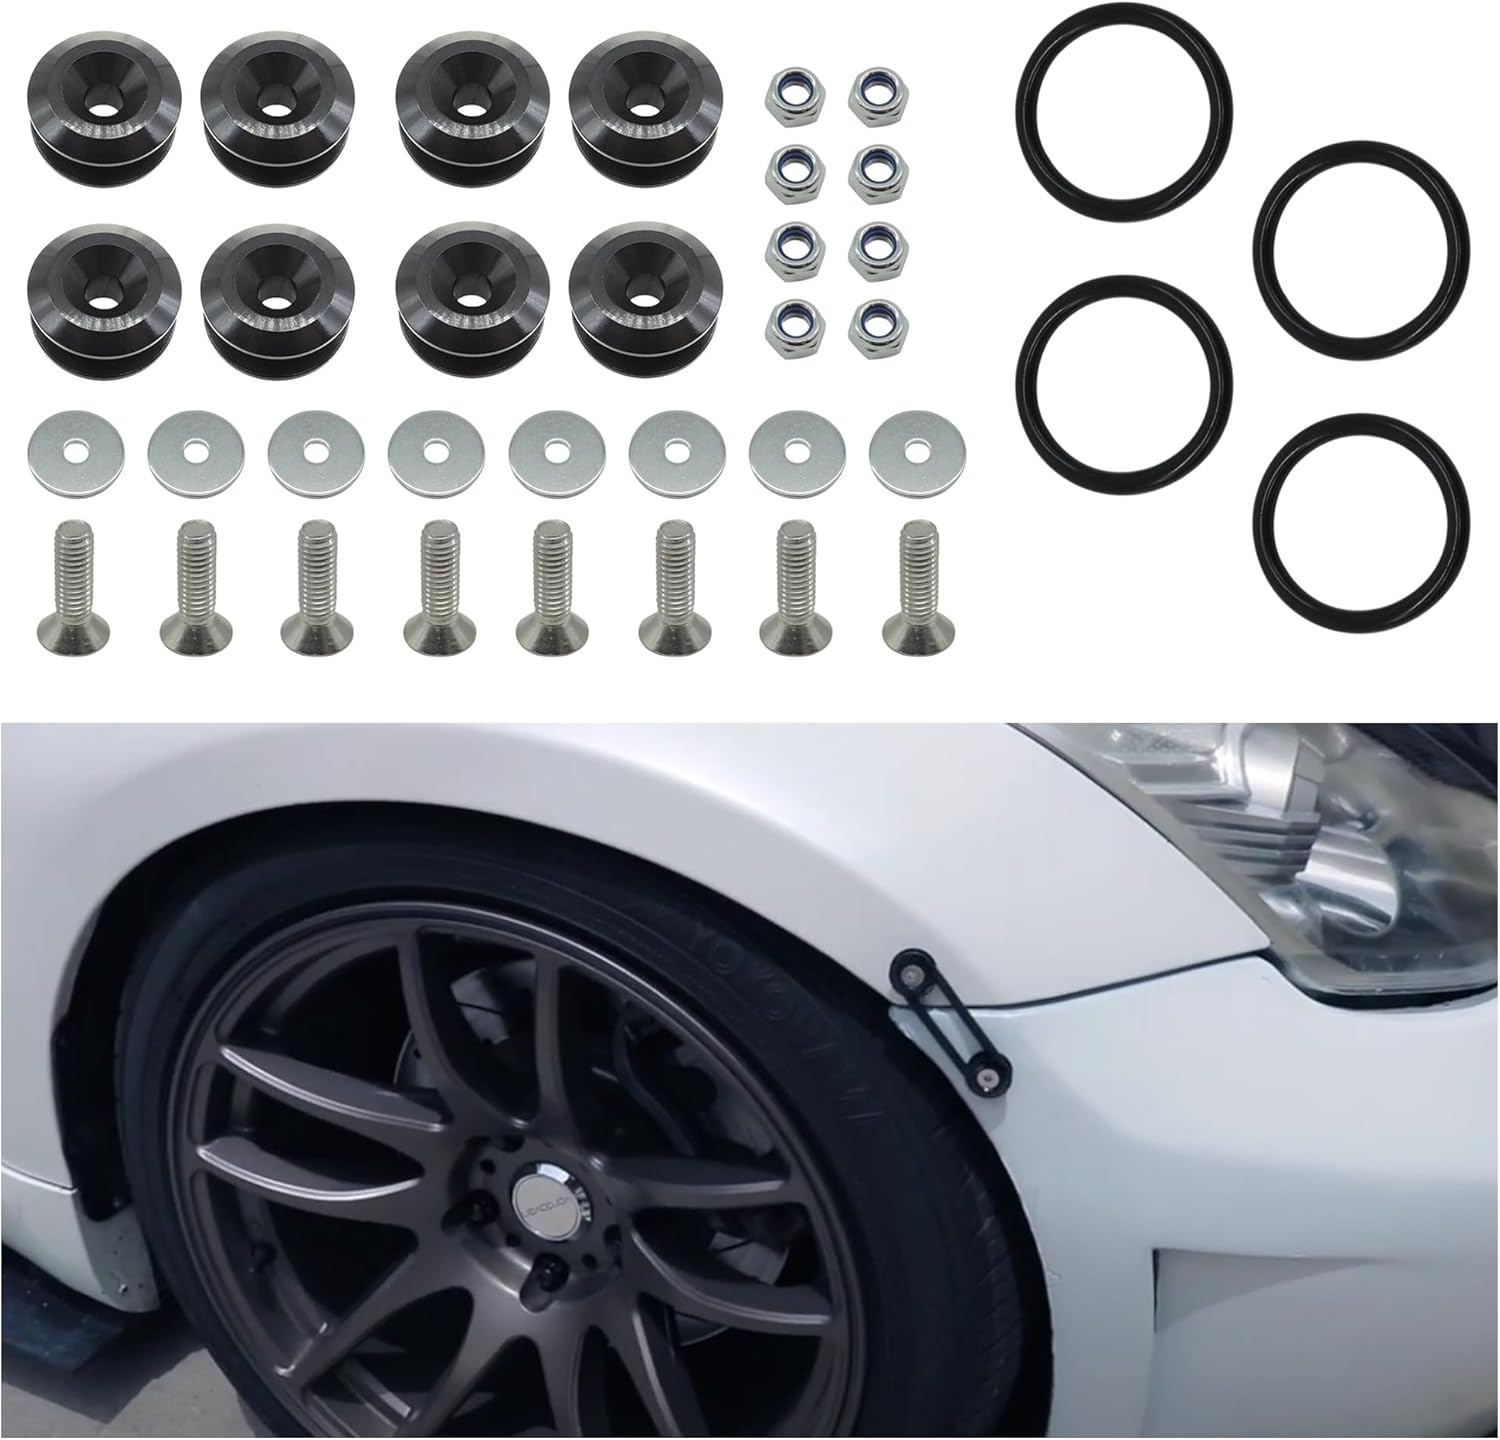
Material: Aluminum alloy

Dimensions:

  • Aluminum Fastener:25*10mm
  • Washer: 20mm
  • Nut: 10mm
  • Bolt: 7*19mm
  • O-ring: 13mm
  • Available colors: black/red/blue
  • Universal: All cars

Due to manual measurement, please allow a deviation of 1-3 mm.
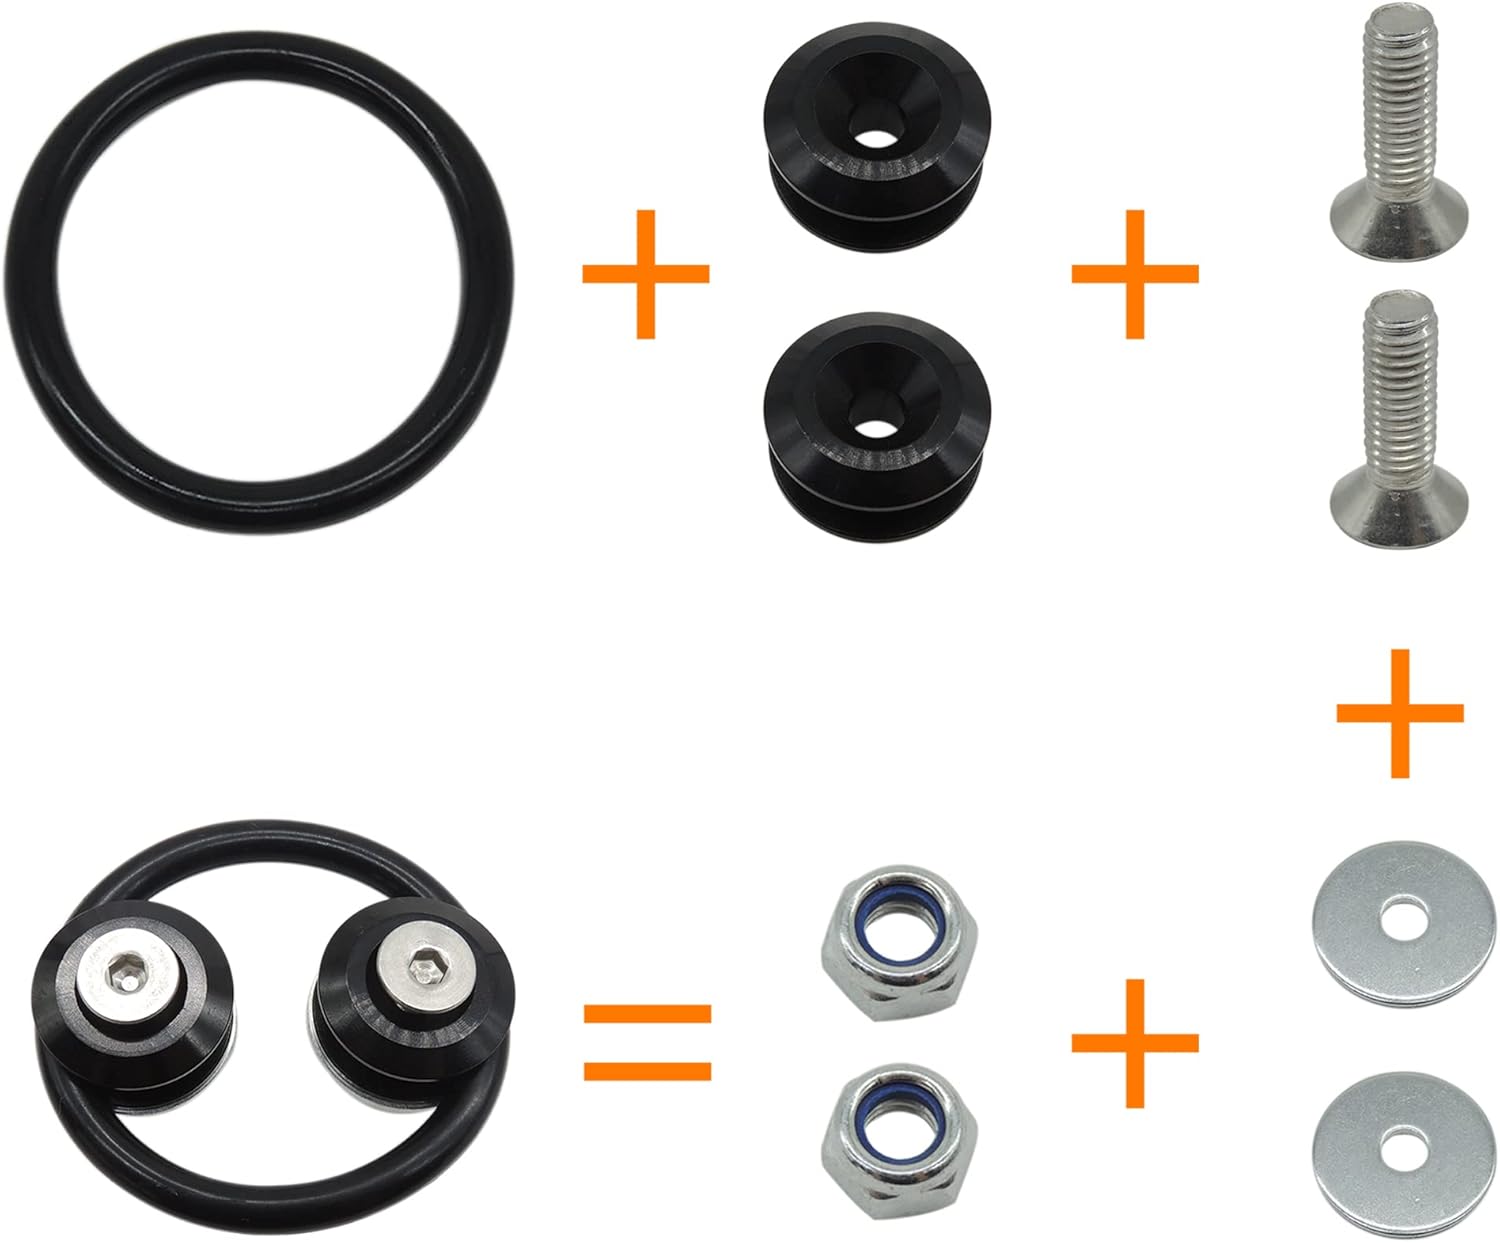
1

2

3

4

Step 1

  • Undo the inner fender wells to gain better access to the back of the bumper. Remove the clips along the side with a flat top screw driver.
  • Use a flexible measuring tape to measure the desired point on bumper and fender.
  • Mark the locations on your bumper and fender.

Step 2

  • Use a small size pilot bit to make a tiny hole in the middle of the X mark.
  • Get the correct bit size of the screws in your Quick Bumper Release Fasteners package.
  • Drill a bigger hole.
  • Use a paint pen to paint the edges of the hole so they don't rust.

Step 3

  • Secure the support and screw into the bumper and fender.
  • Place your hand where you opened the fender so you can hold on to the nut and tighten it up.

Step 4

  • Put some rubber sealant to preserve the fasteners.
  • Finish installation.
7

Suitable for various models